Building
Writing prompts
How to ask for a screen, start from a picture, revise it, point at one part of it, and bring in assets from your library with @ mentions.
Describe the screen
Write what the screen is for and what's on it, the way you'd brief a designer. Vibr fills in realistic sample content, so you don't need to write the copy.
- Good: "An analytics dashboard with KPI cards and a recent orders table"
- Better: "An analytics dashboard for a coffee roaster: four KPI cards for revenue, orders, average order and repeat customers, a weekly revenue chart, and a recent orders table with status chips"
Press Enter to send and Shift+Enter for a new line. On touch screens, Return adds a new line and the Send button sends.
If a request is too vague to plan, Vibr asks you a question instead of guessing. Answer it in the box, and the run picks up from there.
Vibr only designs interfaces. A request with nothing to build, like trivia or an essay, gets a one-line reply with an idea for an interface you could build instead, and nothing runs after Plan. Anything that could become a page, app or screen, on any subject, still builds. Once a draft is on the canvas, you can also ask about it ("Why this font?", "Is this contrast accessible?"), and Vibr answers in the chat without changing the draft.
Start from a picture
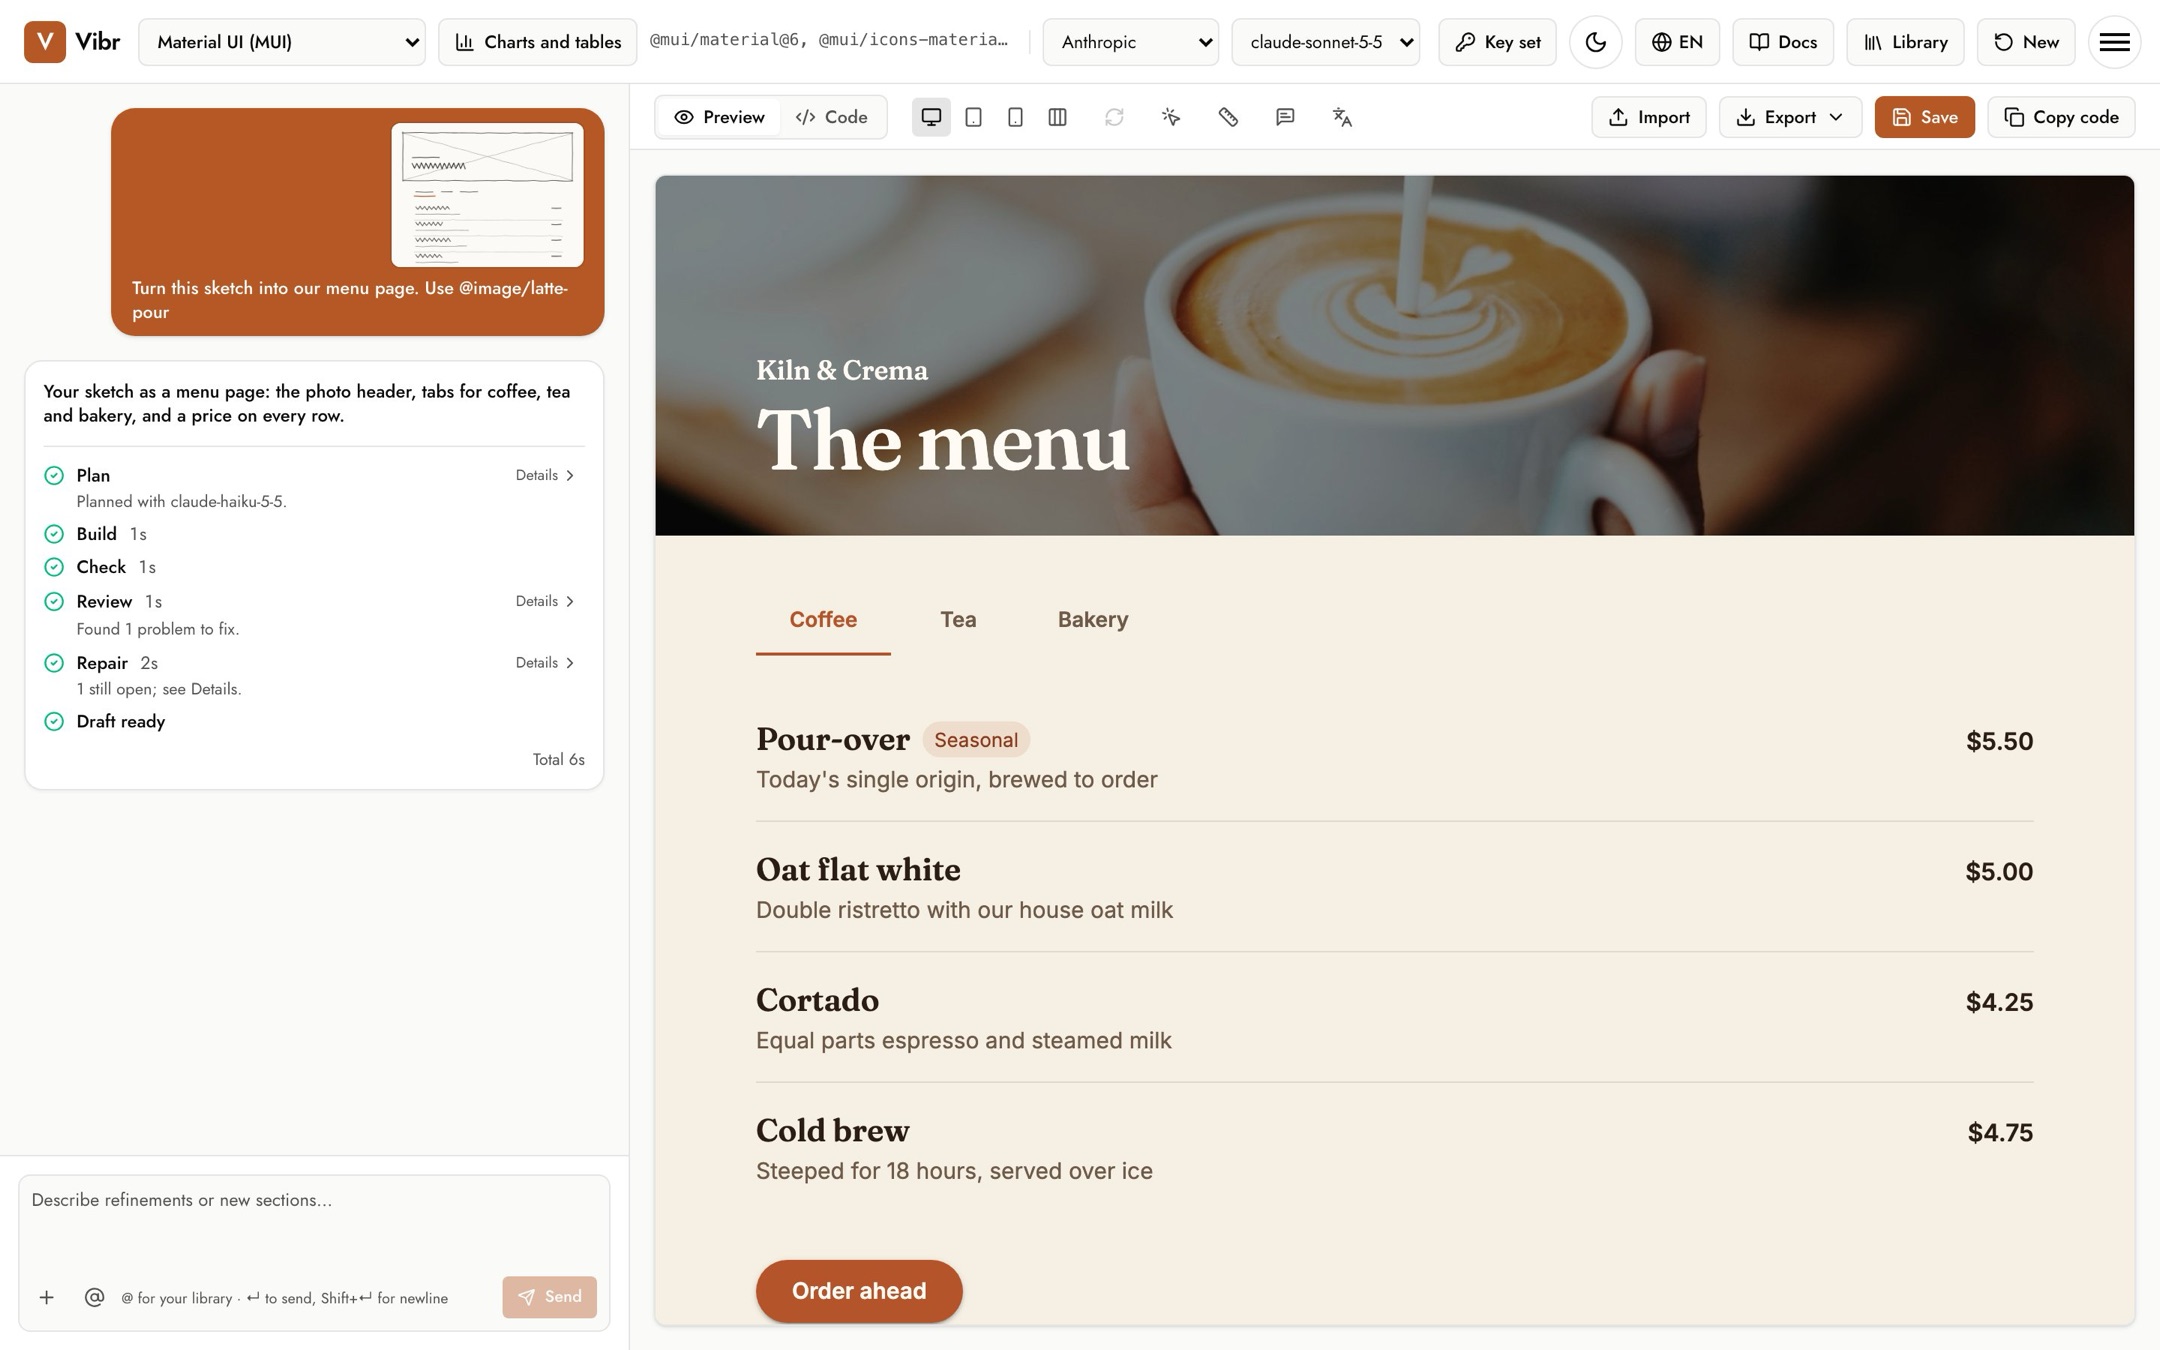
Have a sketch, a screenshot or a mockup? Add it to your request and Vibr builds from what it shows. Select + under the box, then Add a file, or paste or drop an image into it. You can add up to three per request, as PNG, JPEG, WebP, GIF, AVIF or SVG.
- "Build this sketch as a sign-up page"
- "Match the layout of this screenshot, with content for a bike shop"
- An image with no text builds what the image shows.
The draft uses your design system's own components and type, so it follows the picture's layout and hierarchy rather than copying its pixels. Text in the image is treated as content, never as instructions.
Each image is scaled down and redrawn before it's sent, which removes its metadata, and it's checked on your device like any image you add to the library. It goes to your AI provider with that request only. It isn't saved to your library or kept with the conversation, so later requests don't send it again.
Attach documents
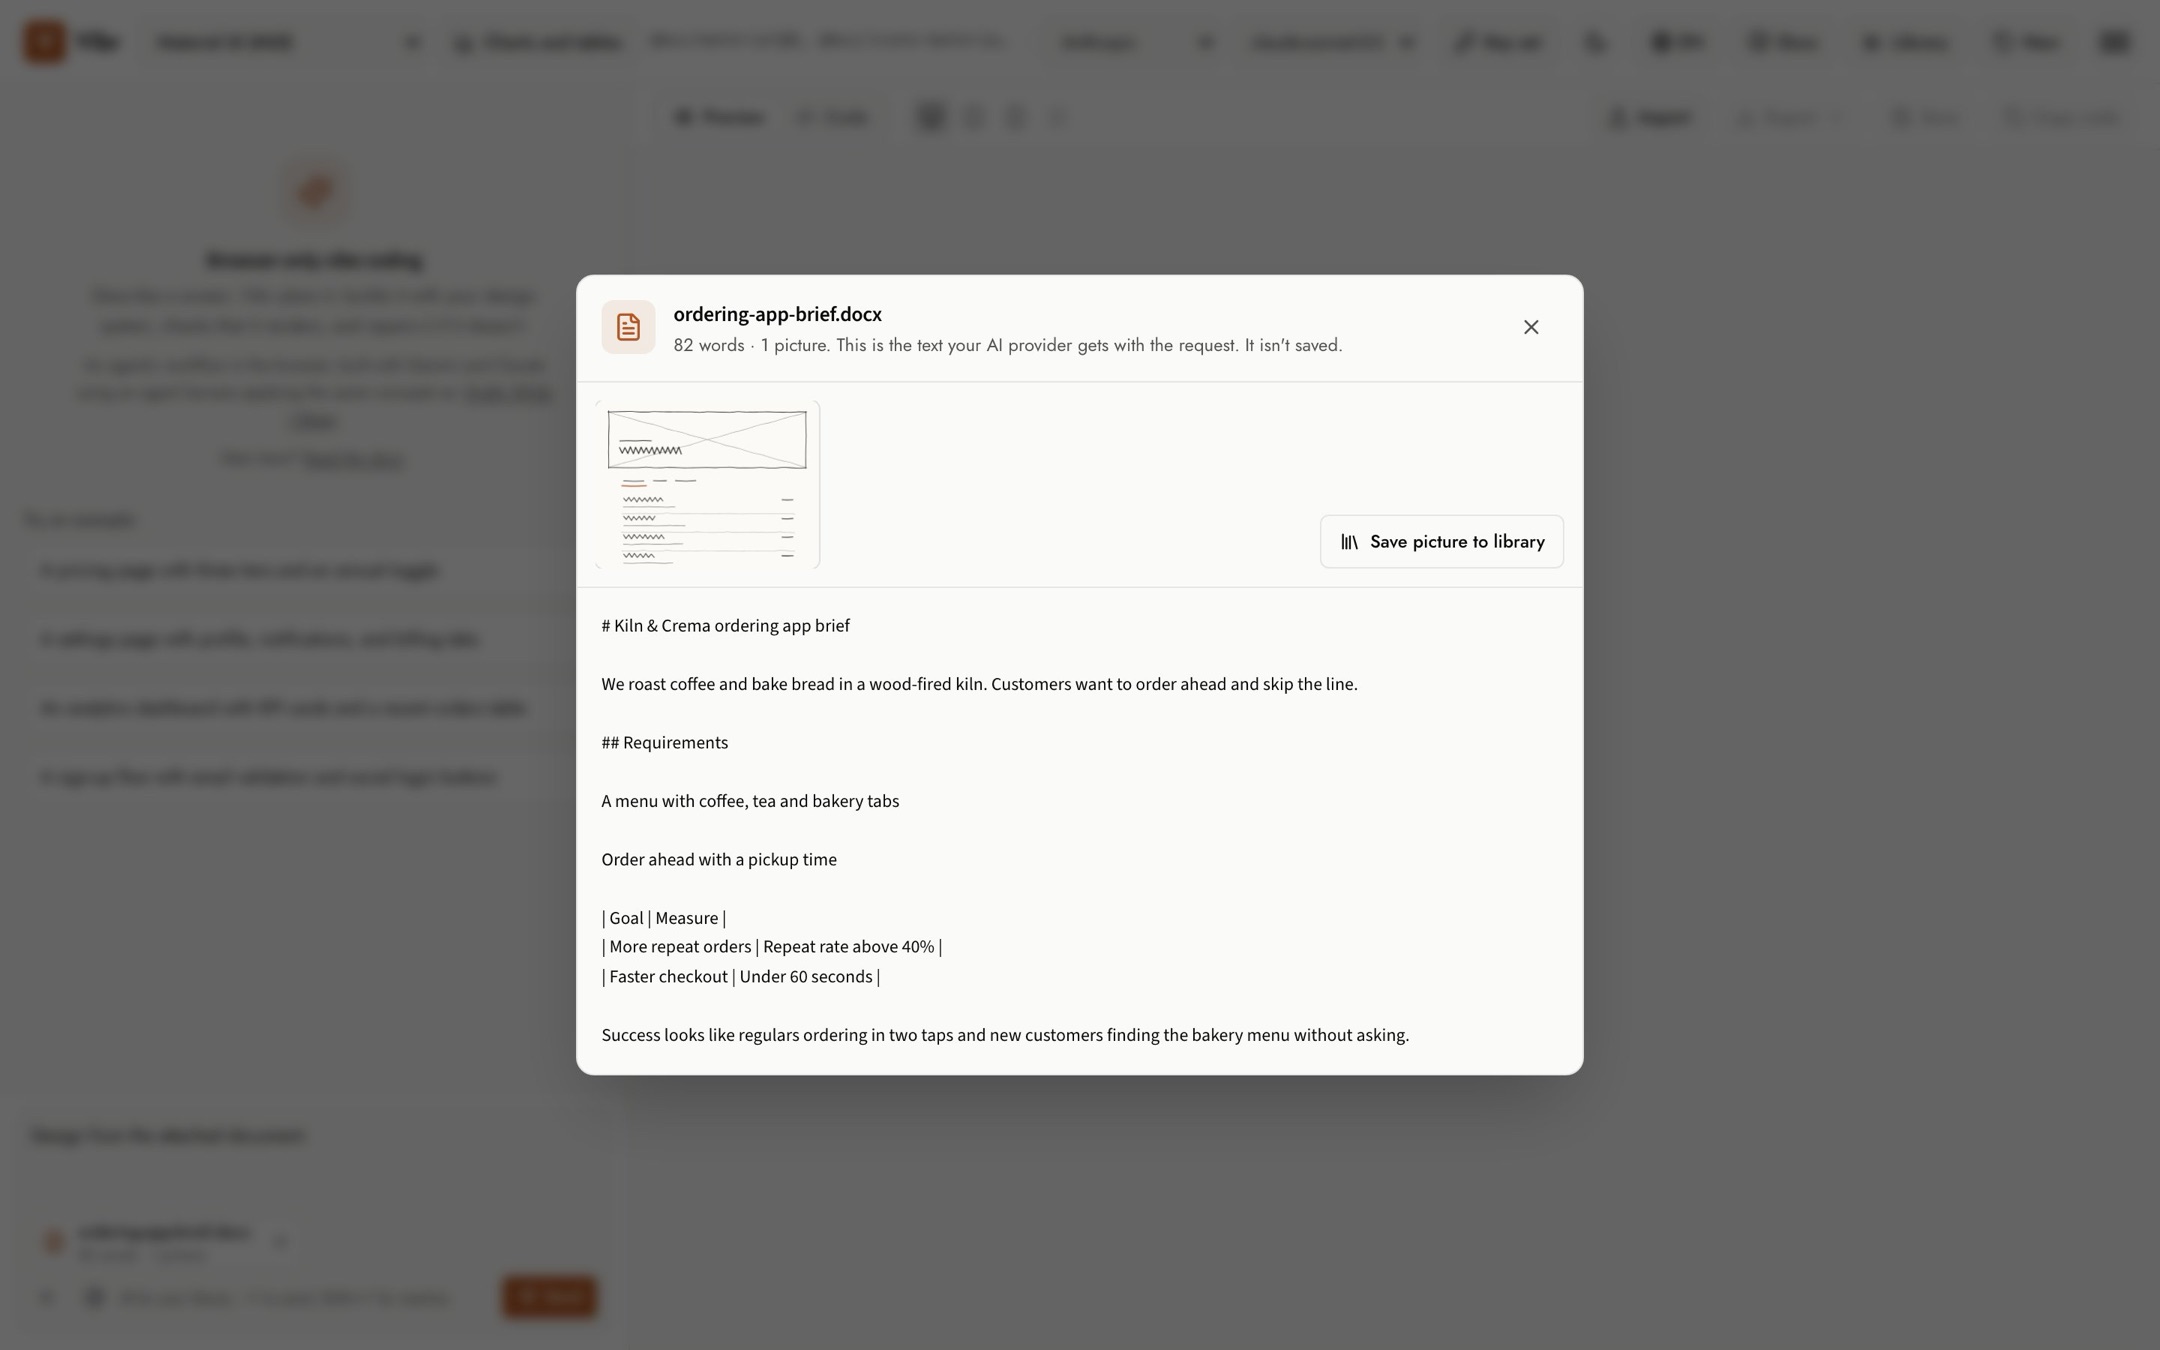
A brief, research notes, a design challenge, last quarter's numbers: attach the document and Vibr designs from it. Select + under the box, then Add a file, or paste or drop it into the box. You can add up to three documents per request:
- Word, PowerPoint and Excel (.docx, .pptx, .xlsx)
- CSV, TSV, Markdown and plain text
From Google Docs, Slides or Sheets, download the file first (File, then Download) in one of these formats.
Vibr reads each document in your browser. The model gets its text, with a deck's speaker notes and a spreadsheet's rows as a table, plus a few of its pictures: a PDF's first pages, or the first images in a Word file or a deck. Up to 30,000 characters of text go with a request; past that, the text is cut and the chip says so. Select a document's chip to see exactly what's sent, and to save its pictures to your library. To use a document again in later requests, select Save to library in its preview, then mention it with @doc.
Every document is checked before it's read. Files that can run macros (.docm, .pptm, .xlsm, or a document hiding a macro project), archives that would unpack far beyond their size, and password-protected PDFs are turned away. Nothing in a document runs: scripts, links, form fields, formulas and embedded objects are ignored, and a sheet's cells come through as their stored values. The text gets the same cleaning and content checks as anything you type, the pictures get the same checks as reference images, and the model is told to treat a document as material to design from, never as instructions.
A document goes with that request only. It isn't saved to your library or kept with the conversation.
Revise what you have
Once a draft exists, the box says "Describe refinements or new sections…". Each request revises the draft on the canvas and becomes a new version, so you can always go back. Some examples:
- "Make the Pro tier stand out and add a FAQ"
- "Use a two-column layout on desktop"
- "Swap the table for cards on phones"
The current draft stays on the canvas while the new version is written, and the canvas switches over once enough of it is ready to draw.
Change just one part
To change one element without touching the rest:
- Select Select an element (the pointer icon above the canvas).
- Click the part you want to change. A chip above the box shows which element it is and where it is in the code.
- Describe the change. Words like "this", "here" and "it" mean that element.
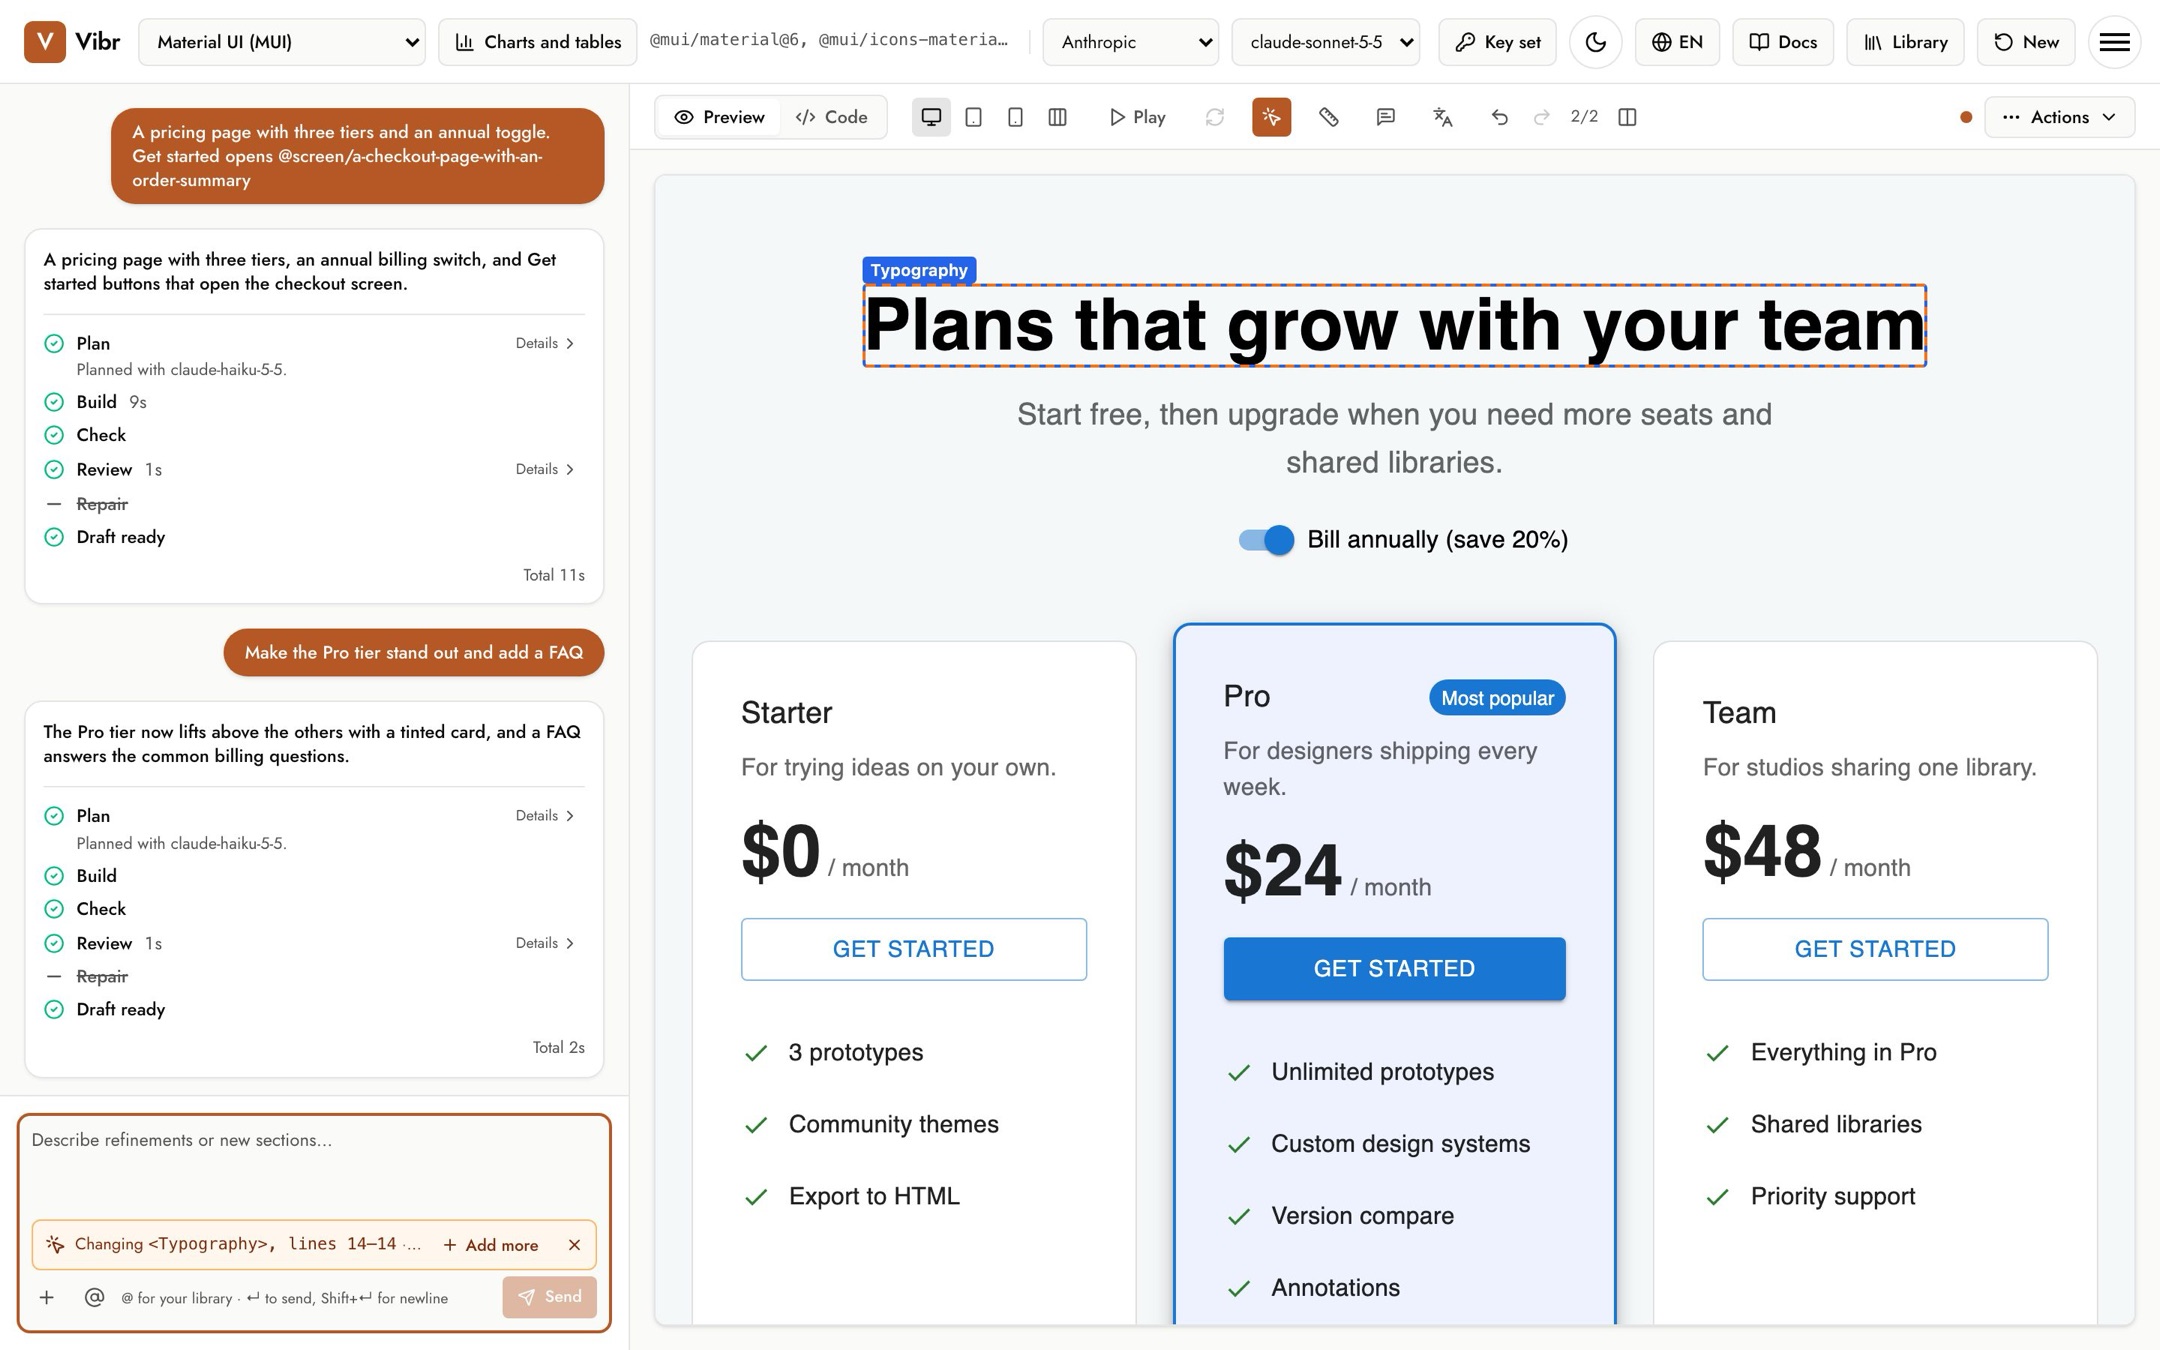
Press Esc to stop selecting, or select the X on the chip to clear it.
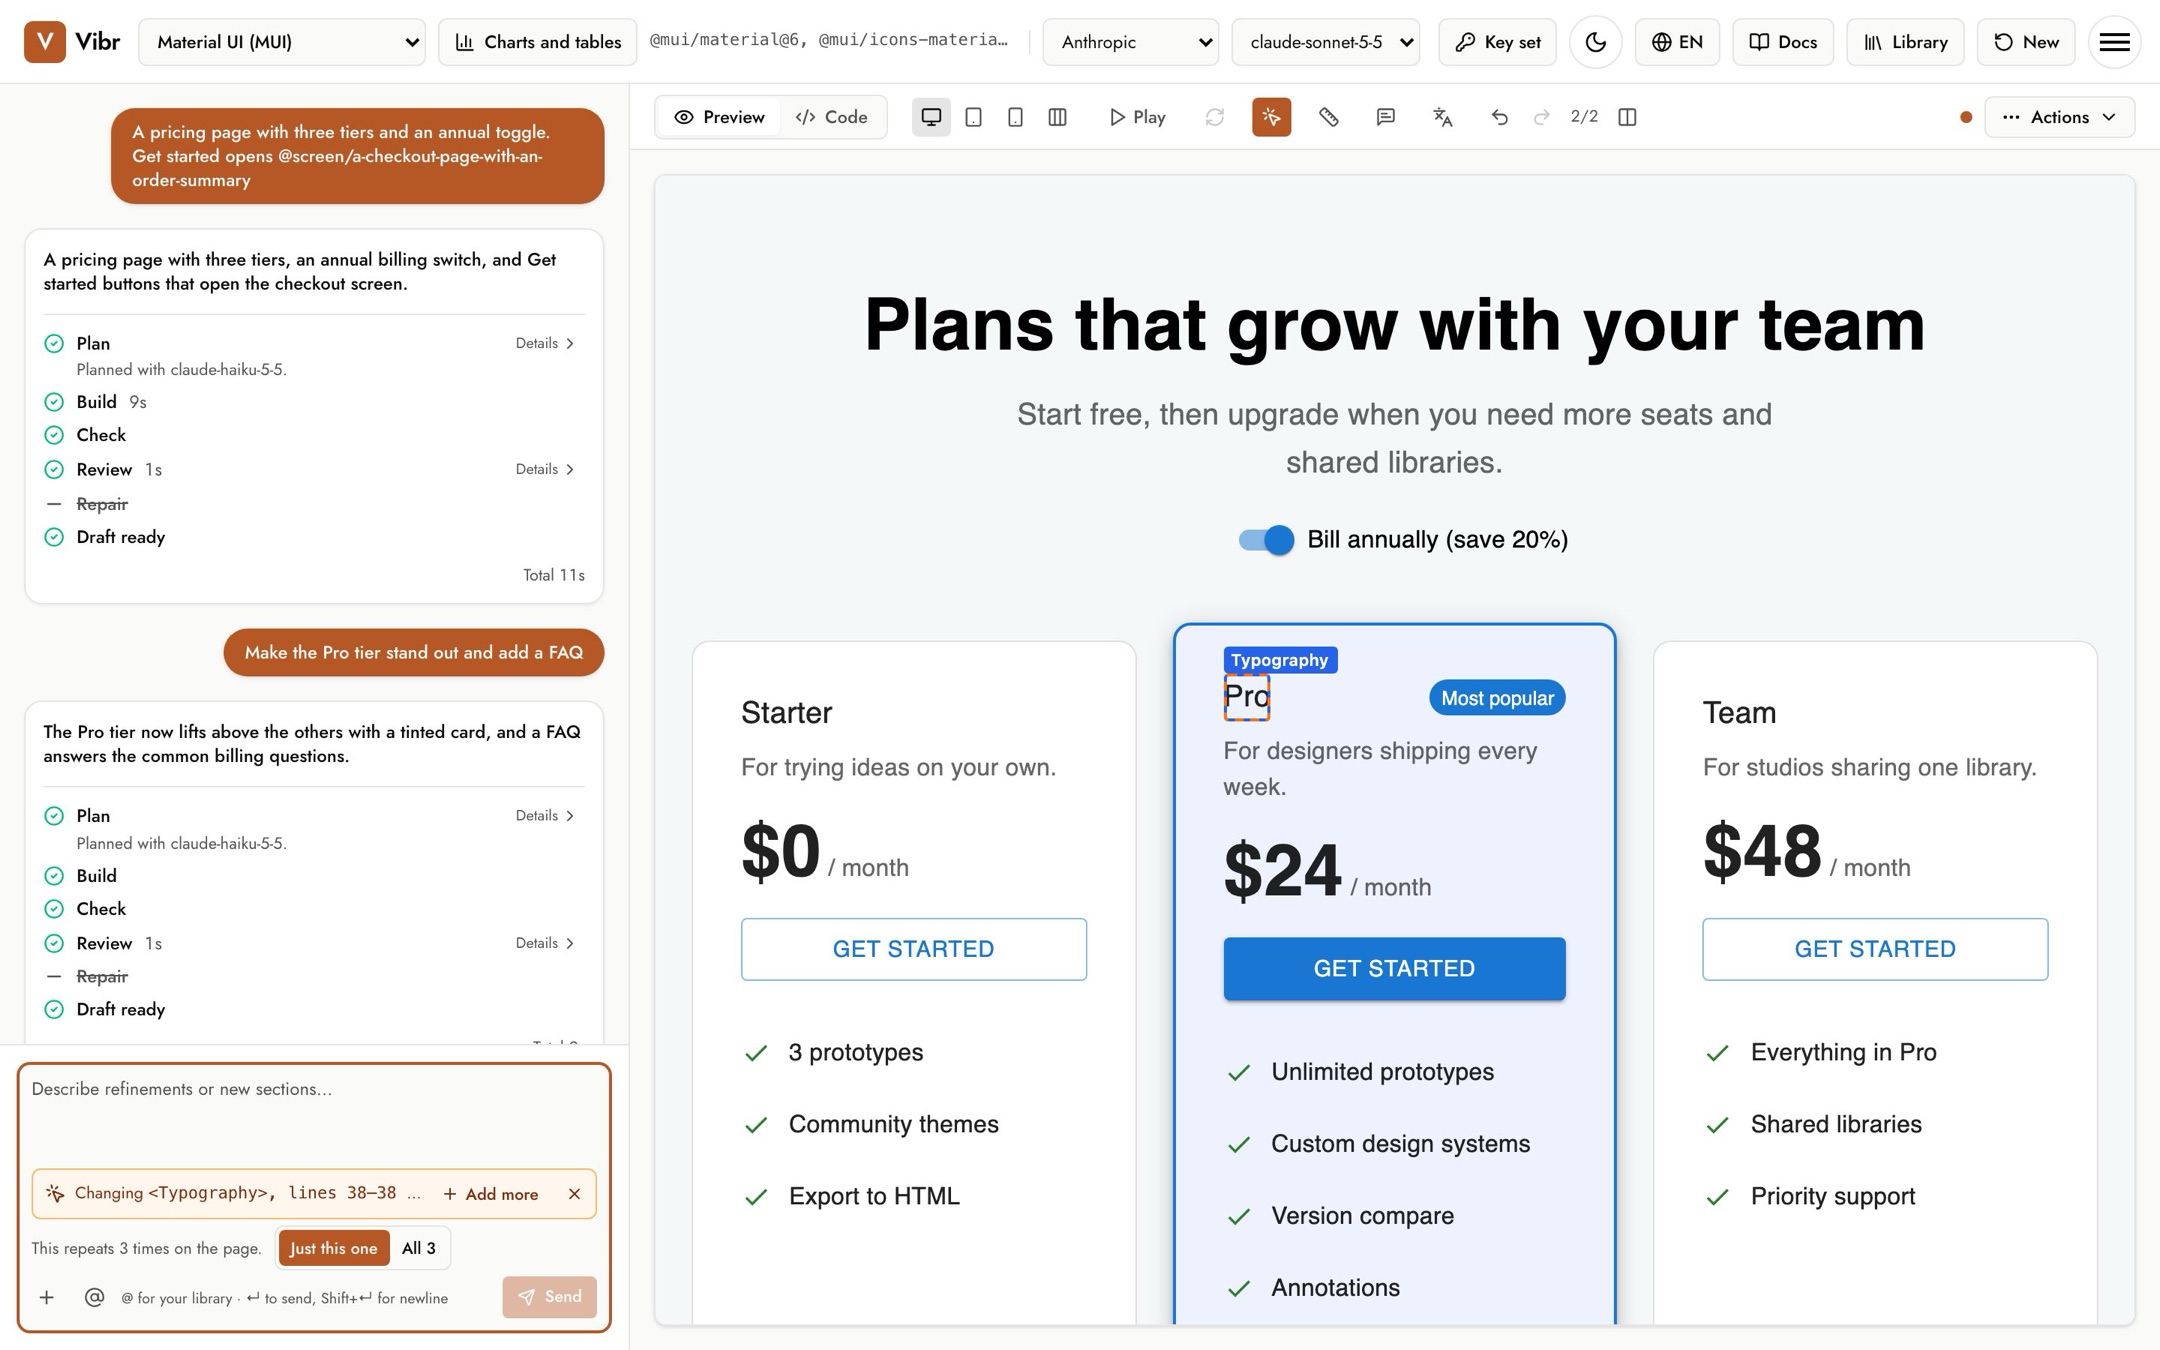
When the element repeats on the page, like a card in a list or a heading in every pricing tier, a choice appears under the chip: Just this one changes only the copy you clicked, and All changes every copy. Just this one is the default. The canvas outlines whichever copies will change.
Change several parts together
Hold Shift and click more elements to change them in one request, up to 8. Each gets a number on the canvas, and the chip lists them. Then describe how they relate, like "make these match" or "give these the same spacing". Shift+click a picked element again to take it out.
On a touch screen, select Add more on the chip, then tap the elements. With a keyboard, press Shift+Enter on a focused element. Each element you add counts as just the copy you picked. An element inside one you've already picked is part of it already, so it isn't added twice.
Mention assets with @
Type @ in the box, or select the @ button, to bring something from your library into a request. A list appears as you type. Use ↑ and ↓ to choose and Enter or Tab to add it.
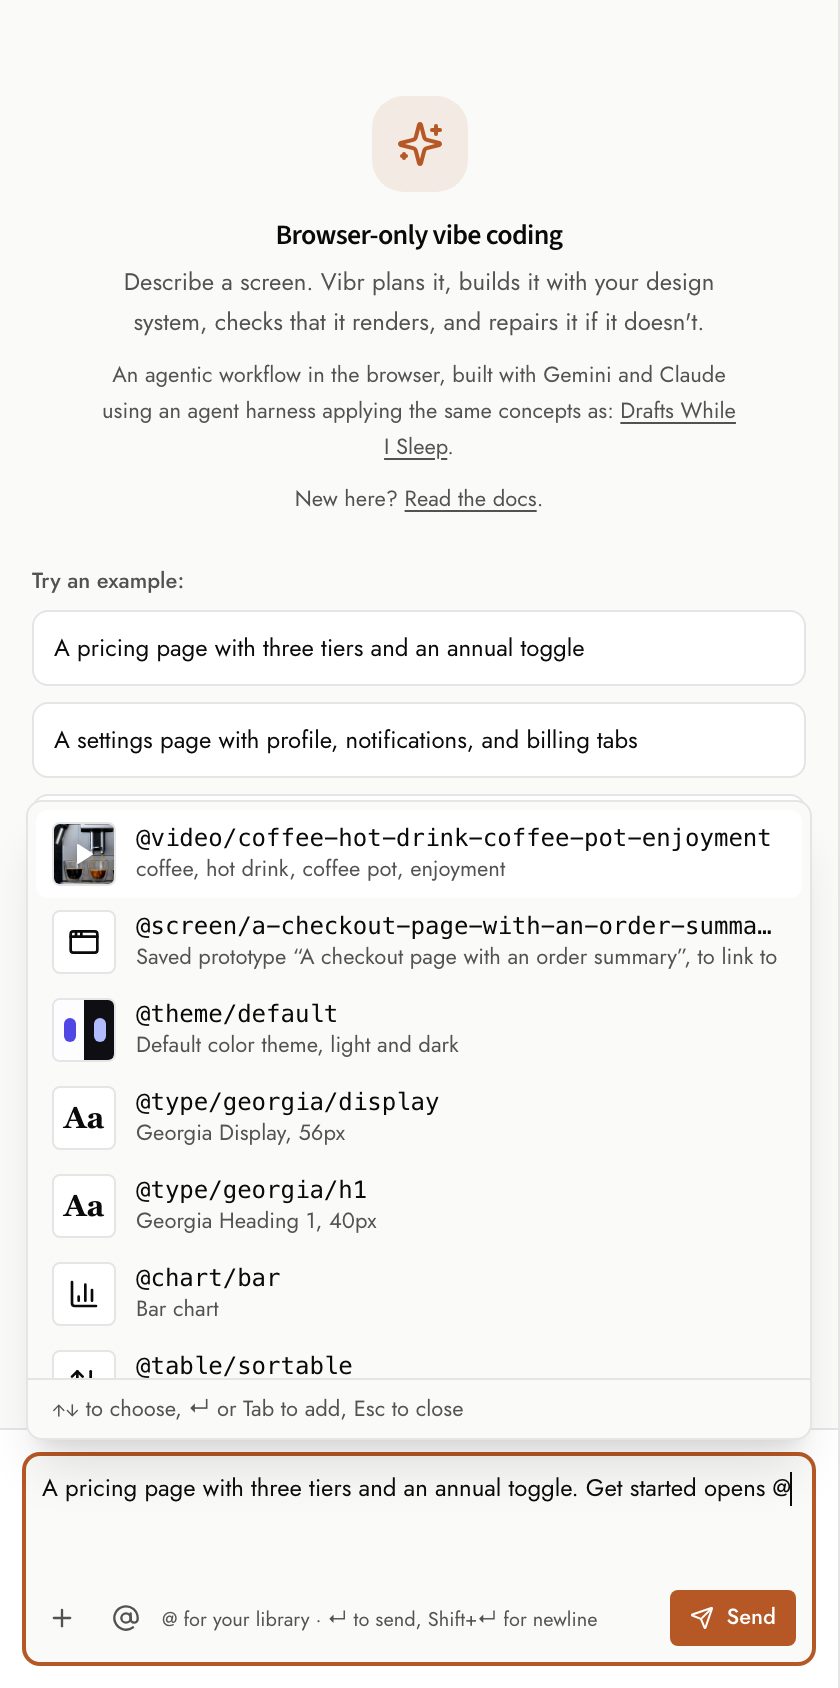
| Mention | What it brings in |
|---|---|
@image/name | An image you imported or saved from Unsplash. |
@video/name | A video you imported or saved from Pixabay. |
@theme/name | A color theme, with its light and dark modes. |
@type/ramp/style | A type style from one of your type ramps, like @type/georgia/h1. |
@icon/name | A built-in Lucide icon, or one from an icon font you imported (@icon/set/name). |
@screen/name | A saved prototype to link to. See Flows. |
@chart/kind | A kind of chart, like @chart/donut, built with your chart library. See Charts and tables. |
@table/feature | A table feature, like @table/sortable, built with your table library. |
Mentions in your request show as chips under the box. A chip turns red if the name isn't in your library, and Vibr leaves that mention out. Learn how to add assets in Images, videos, documents, themes, type and icons.
Tips for better results
- One screen per request. Build a page, then add to it. Very large requests can hit the model's output limit; if that happens, ask for one section per message.
- Name the parts. "The plan cards" or "the header" is easier to act on than "the top bit".
- Use the right tool. For one element, select it. For notes you want to keep, pin an annotation.